Boiling an egg sounds like the simplest task in cooking, yet it hides three separate problems that ruin breakfasts every day: yolks that come out wrong (chalky when you wanted jammy), shells that crack in the pot, and eggs that refuse to peel without taking half the white with them. Each problem has a specific cause and a specific fix — and once you know the numbers, you will never guess at the stove again.
Here is the complete method: exact times for every texture, the science of why it works, and the fixes for every classic failure.
The method in 30 seconds
- Take eggs straight from the fridge.
- Bring a pot of water to a full rolling boil.
- Lower the eggs in gently with a spoon.
- Immediately reduce to a gentle boil / strong simmer and start the timer.
- Cook to your target time (see the chart below).
- Transfer straight into ice water for at least 5 minutes.
- Peel starting at the fat end, ideally under running water.
Now the details that make the difference.
The timing chart (this is the heart of it)
Times assume large eggs, straight from the refrigerator, lowered into boiling water:
| Minutes | Yolk | Best for |
|---|---|---|
| 6 | Liquid center, barely set edges | Ramen, dipping toast soldiers |
| 7 | Runny-to-jammy transition | Soft-boiled eggs in a cup |
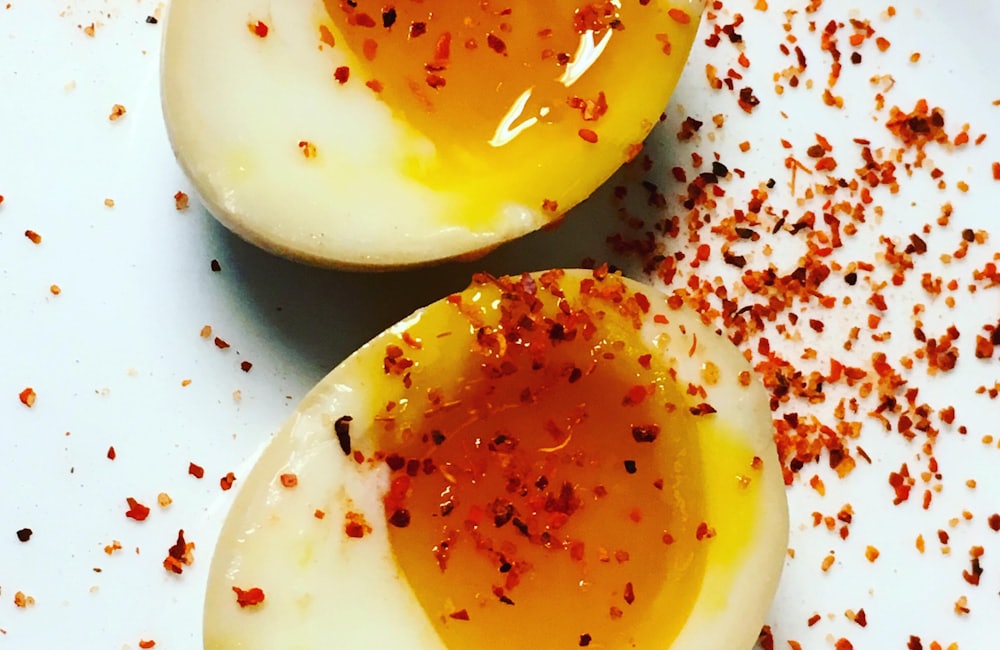
| 8 | Jammy: fudgy, deep orange, no liquid | Salads, grain bowls, jammy snacks |
| 10 | Fully set but still moist and tender | Deviled eggs with creamy texture |
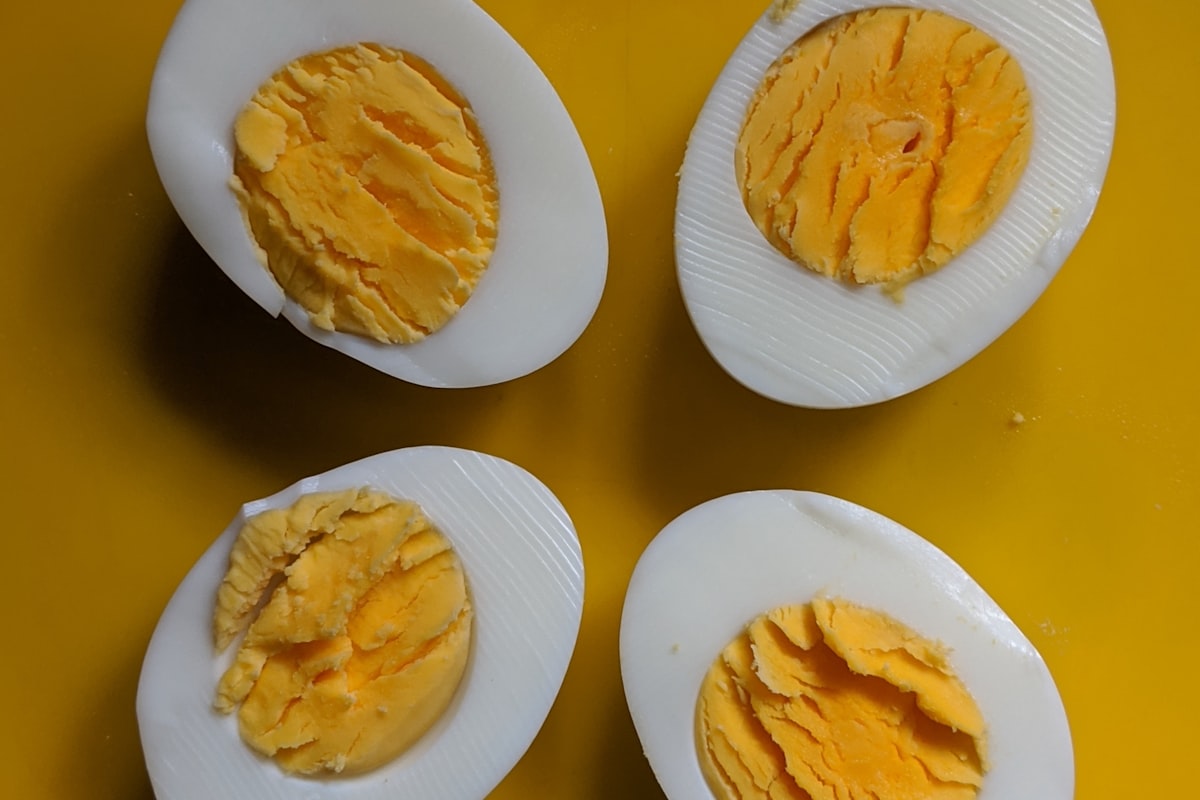
| 12 | Firm, fully cooked, classic hard-boil | Egg salad, meal prep, picnics |
Past 12 minutes nothing good happens: the yolk dries out, turns pale and crumbly, and the green-gray ring appears (more on that below).
Two adjustments worth knowing:
- Medium eggs: subtract about 30 seconds. Extra-large or jumbo: add 30-60 seconds.
- High altitude: water boils at a lower temperature, so add roughly 1 minute per 1,000 m (3,300 ft) above sea level and verify with a test egg.
Why boiling-water start beats cold-water start
Most home cooks were taught to put eggs in cold water and bring everything to a boil together. It works, but it has a built-in flaw: you can’t time it precisely, because how fast the water heats depends on your pot, your stove, and how much water you used. The same “10 minutes” produces different eggs in different kitchens.
Starting in boiling water solves that — the clock starts the moment the egg enters the water, every time, in every kitchen. It has a second benefit: the sudden heat instantly sets the outer layer of white before it can bond with the shell membrane, which is why boiling-start eggs peel noticeably easier.
The one trade-off is a slightly higher risk of cracking from thermal shock, which the next section fixes.
How to stop eggs from cracking in the pot
Eggs crack for two reasons: banging against the pot, and the air inside them expanding faster than it can escape. The fixes:
- Lower them gently with a slotted spoon — never drop them in.
- Keep the water at a gentle boil, not a violent one. A rolling boil bounces eggs against the pot like pinballs. You want steady small bubbles, not an eruption.
- Don’t crowd the pot. One layer of eggs with room to spare; cook in batches if needed.
- Some cooks prick a tiny hole in the fat end with a pin to vent the air cell. It works, but with a gentle boil it’s rarely necessary.
A hairline crack mid-cooking isn’t a disaster — a ribbon of white will escape and set, and the egg is still perfectly edible.
The ice bath: not optional
The moment the timer sounds, move the eggs into a bowl of ice water (or at minimum, very cold running water) for at least 5 minutes. This does three jobs:
- Stops the cooking instantly. An egg left in hot water keeps cooking from residual heat — your perfect 8-minute jammy yolk becomes a 10-minute yolk while it sits.
- Prevents the green ring. The iron-sulfide reaction that grays the yolk needs heat and time; rapid cooling denies it both.
- Helps peeling. The white contracts slightly as it cools, pulling away from the shell membrane.
Peeling without destroying the egg
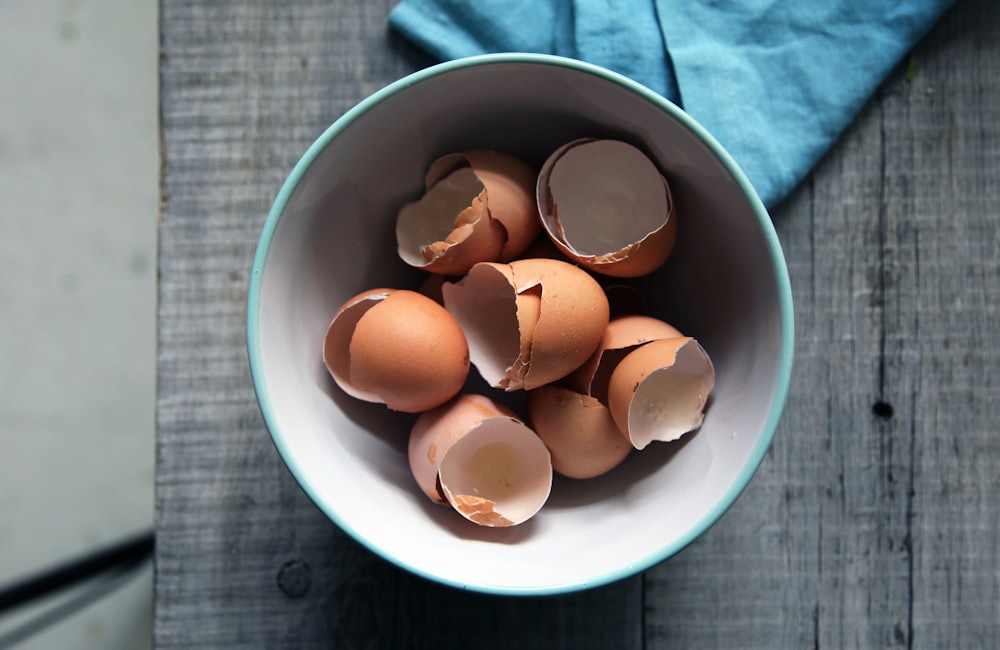
The number one variable is egg age. A very fresh egg has a low pH white that glues itself to the inner membrane; no technique fully overcomes it. Eggs that are 7-10 days old peel dramatically better — so if you buy eggs specifically for boiling, let them wait in the fridge a few days first.
Technique for the rest:
- Crack the fat end first — the air pocket lives there, giving you a starting gap under the membrane.
- Roll the egg gently on the counter to craze the whole shell.
- Peel under a thin stream of running water (or in the ice bath bowl). Water slips between membrane and white, separating them.
- Get your thumb under the membrane, not just under the shell — that’s the layer that matters. Once you’re under it, the shell comes off in big satisfying plates.
Steaming instead of boiling (a steamer basket over an inch of boiling water, same times plus about 1 minute) is another reliably easy-peel route, worth trying if peeling still frustrates you.
The green ring, explained once and for all
That gray-green layer around an overcooked yolk is iron sulfide — sulfur released by the heated white reacting with iron in the yolk, right at their border. It looks sad but is completely harmless.
It forms when eggs cook too long or cool too slowly. If you respect the 12-minute ceiling and use the ice bath, you will simply never see it again.
Storage and meal prep
- Unpeeled, boiled eggs keep about 1 week in the fridge — better than raw for grab-and-go protein.
- Peeled, they dry out and absorb fridge smells: eat within 1-2 days, kept in a covered container (a damp paper towel over them helps).
- Mark boiled eggs with a pencil X, or use the spin test to tell them apart from raw: a boiled egg spins fast and true; a raw egg wobbles, because its liquid interior lags behind the shell.
- Don’t freeze them. The white turns rubbery and weepy. (Learned the hard way by everyone who has tried.)
Troubleshooting summary
| Problem | Cause | Fix |
|---|---|---|
| Shell won’t peel | Eggs too fresh; no ice bath | Use week-old eggs; boiling start; ice bath; peel under water |
| Cracked in pot | Dropped in; violent boil | Lower with spoon; gentle boil |
| Green-gray yolk ring | Overcooked or slow cooling | Max 12 min; straight to ice water |
| Yolk wrong texture | Timing guesswork | Boiling-water start + the chart above |
| Rubbery white | Cooked too hard too long | Gentle simmer, respect the times |
Master the chart, respect the ice bath, and boiled eggs go from a gamble to a guarantee — six minutes for ramen night, eight for the jammy salad egg, twelve for Sunday meal prep, identical results every single time.